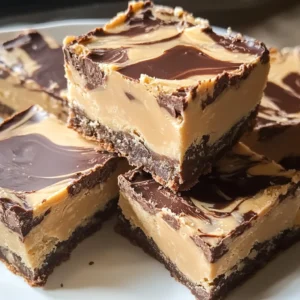
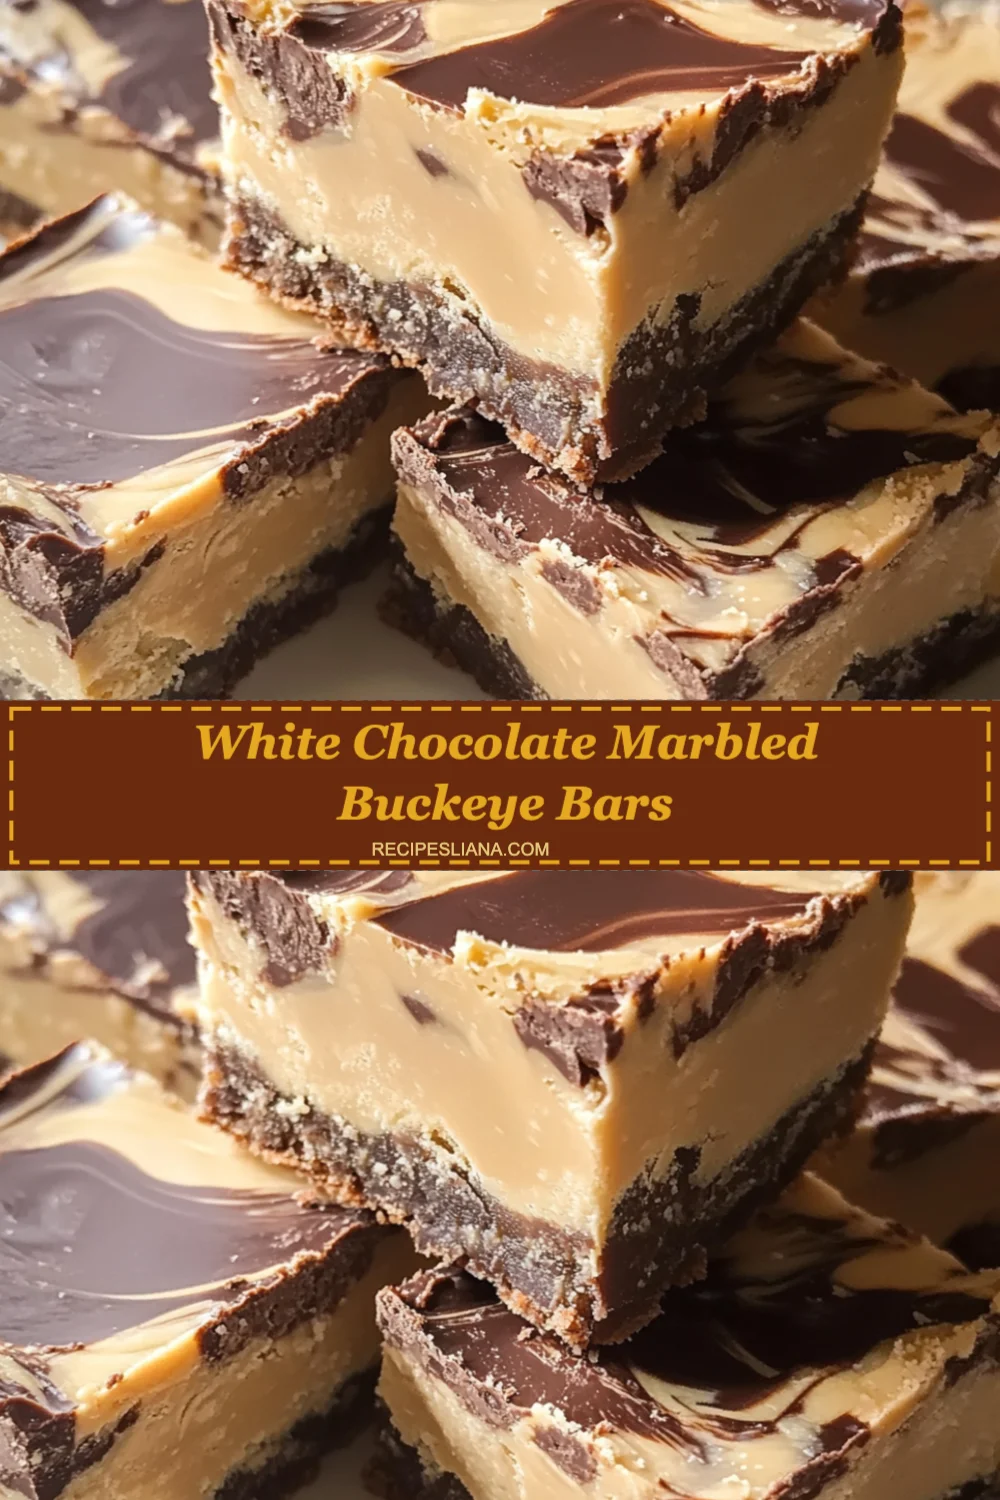
If you’re a fan of rich, creamy desserts that combine the sweet, nutty flavor of peanut butter with the decadent taste of chocolate, then White Chocolate Marbled Buckeye Bars are the perfect treat for you! These delightful bars are a fun twist on the classic buckeye candy, featuring a luscious peanut butter layer topped with a marbled chocolate layer that is both visually stunning and irresistibly delicious. Perfect for parties, potlucks, or a cozy night in, these bars will satisfy your sweet tooth while impressing your friends and family.
In this article, we’ll take you through the process of making these delicious bars step by step, providing you with tips, variations, and nutritional information to make your experience as enjoyable as possible. Whether you’re a seasoned baker or a beginner in the kitchen, the White Chocolate Marbled Buckeye Bars are simple to make and sure to be a hit!
Why You’ll Love This Recipe
There are countless reasons to fall in love with White Chocolate Marbled Buckeye Bars. For starters, they pack a flavor punch that combines the classic taste of peanut butter cups with the elegance of marbled chocolate. Here are just a few reasons why this recipe should be on your baking radar:
- Easy to Make: This recipe is straightforward, requiring minimal ingredients and simple steps that anyone can follow. You don’t need to be a baking expert to whip up these delightful bars!
- Versatile Treat: Perfect for any occasion, these bars can be served at birthday parties, holiday gatherings, or just as a sweet treat for yourself. They are sure to please both kids and adults alike.
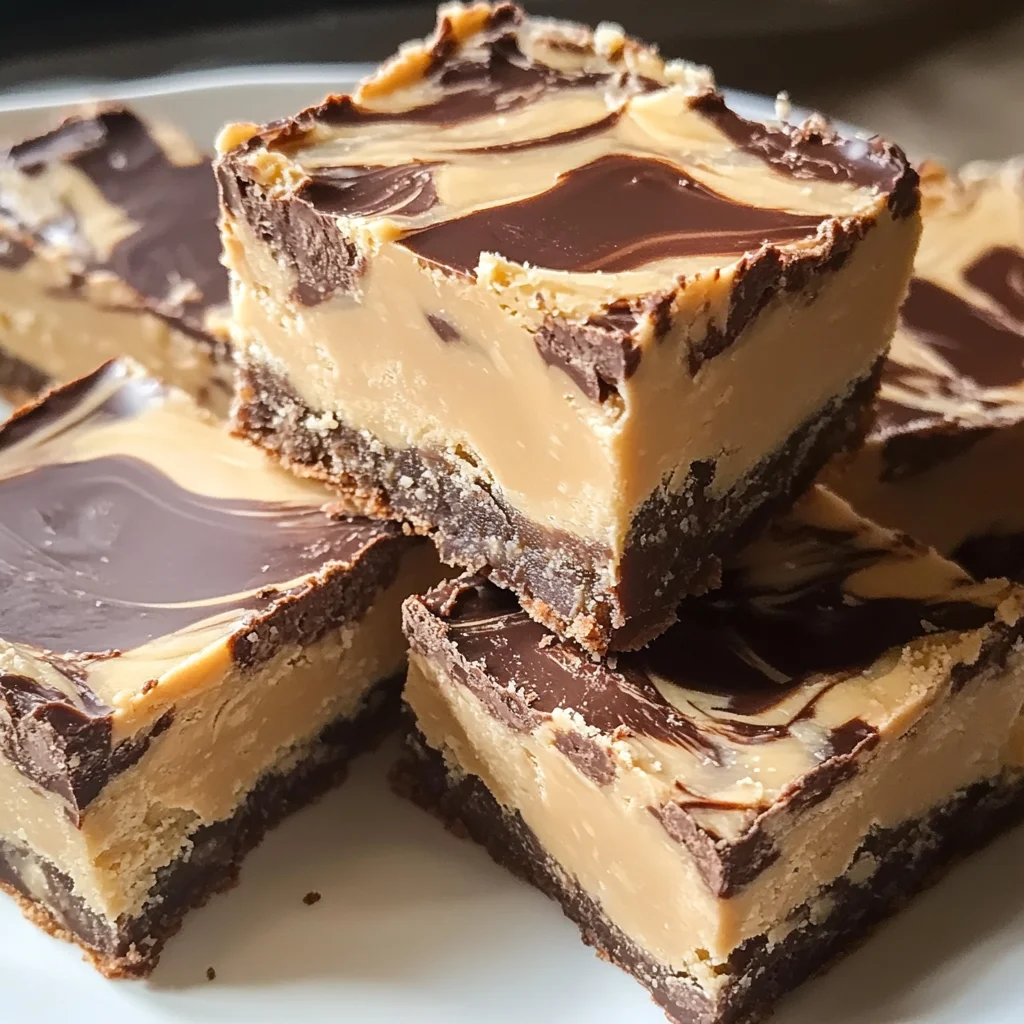
- Visual Appeal: The marbled chocolate on top adds an artistic flair to the bars that will impress anyone who sees (or tastes) them. They look as good as they taste!
- Peanut Butter Lovers Delight: If you’re a peanut butter aficionado, the rich peanut butter layer will be a standout in your dessert repertoire. It’s creamy, sweet, and utterly satisfying.
- Customizable: You can easily adapt this recipe to suit your preferences. Add nuts, swap out the chocolate, or make it gluten-free with a few simple substitutions.
Why You Should Try This Recipe
Aside from being absolutely delicious, there are numerous benefits to trying out the White Chocolate Marbled Buckeye Bars. Here’s why you should give this recipe a shot:
- Quick and Convenient: With a baking time of only 20-25 minutes, you can have these bars ready in no time. Plus, they make for an easy clean-up since everything is mixed in one bowl.
- Great for Meal Prep: These bars store well in an airtight container, making them perfect for meal prep. You can bake a batch at the beginning of the week and enjoy them throughout.
- Kid-Friendly Recipe: Get your kids involved in the kitchen by having them help with mixing and swirling the chocolate. It’s a fun way to spend time together and teach them valuable cooking skills.
- Perfect for Gifting: Wrapped up beautifully, these bars make an excellent homemade gift for friends, family, or coworkers. They’re a thoughtful way to show you care.
- Impressive Flavor Combination: The contrast between the creamy peanut butter and the sweet chocolate is simply irresistible. Once you try them, you’ll be hooked!
Ingredients and Utensils Needed
To create the perfect White Chocolate Marbled Buckeye Bars, you’ll need the following ingredients:
Ingredients:
- For the Peanut Butter Layer:
- 1 cup creamy peanut butter
- 1 cup powdered sugar
- 1/2 cup unsalted butter, softened
- 1 teaspoon vanilla extract
- For the Chocolate Layer:
- 1 cup semi-sweet chocolate chips
- 1 cup white chocolate chips
- 2 tablespoons vegetable oil
Recommended Utensils:
- 8×8-inch baking pan
- Parchment paper
- Mixing bowls
- Spatula
- Microwave-safe bowls
- Knife or toothpick for swirling
- Wire rack for cooling
Having the right tools can make all the difference in the success of your baking project. Using an 8×8-inch baking pan ensures even cooking, while parchment paper will help you lift the bars out of the pan easily. A spatula is key for smoothing out the peanut butter layer, and microwave-safe bowls are essential for melting the chocolate without burning it.
Detailed Recipe Steps
Ready to dive into making your White Chocolate Marbled Buckeye Bars? Follow these detailed steps to ensure your bars come out perfectly!
Step 1: Preheat the Oven
Start by preheating your oven to 350°F (175°C). This step is crucial as a properly heated oven ensures even baking.
Step 2: Prepare Your Baking Pan
Line your 8×8-inch baking pan with parchment paper, allowing some overhang on the sides. This will help you easily lift the bars out once they are baked and cooled.
Step 3: Create the Peanut Butter Layer
In a mixing bowl, combine the creamy peanut butter, powdered sugar, softened butter, and vanilla extract. Mix until the mixture is smooth and well combined. A hand mixer can make this task easier, but a sturdy spatula will work fine too.
Step 4: Spread the Peanut Butter Mixture
Using your spatula, spread the peanut butter mixture evenly into the prepared baking pan. Make sure to smooth the top evenly to ensure a nice presentation.
Step 5: Melt the Semi-Sweet Chocolate
In a microwave-safe bowl, combine the semi-sweet chocolate chips with 1 tablespoon of vegetable oil. Microwave in 30-second intervals, stirring after each interval, until the chocolate is completely melted and smooth. Be careful not to overheat it, as burnt chocolate is unusable.
Step 6: Melt the White Chocolate
Repeat the melting process for the white chocolate chips with the remaining 1 tablespoon of vegetable oil. Again, microwave in intervals, stirring until smooth.
Step 7: Drizzle the Chocolate Layers
Once both chocolate layers are melted, drizzle the semi-sweet chocolate over the peanut butter layer. Follow this by drizzling the melted white chocolate on top. Don’t worry about being too neat; the marbling will take care of that!
Step 8: Create the Marble Effect
Using a knife or toothpick, gently swirl the two chocolate layers together to create a beautiful marbled effect. Be careful not to over-mix; you want to see distinct swirls of both chocolates.
Step 9: Bake the Bars
Place the pan in the preheated oven and bake for 20-25 minutes. The edges should be set, while the center should still feel slightly soft. This will ensure that the bars remain chewy.
Step 10: Cool and Cut the Bars
Once baked, remove the pan from the oven and allow it to cool completely on a wire rack. Once cool, lift the bars out using the parchment overhang and cut them into squares. Serve and enjoy!
Tips and Variations
While the classic White Chocolate Marbled Buckeye Bars are sure to please, consider these tips and variations to customize your experience:
- Nut Variations: Add chopped peanuts or your favorite nuts to the peanut butter layer for added crunch and flavor.
- Gluten-Free Option: To make these bars gluten-free, ensure that your chocolate chips and any other ingredients are certified gluten-free.
- Vegan Variation: Use a plant-based butter alternative and dairy-free chocolate chips to make this recipe vegan-friendly.
- Peanut-Free Alternative: If you have a peanut allergy, try using almond butter or sunbutter in place of peanut butter for a similar texture and flavor.
- Storage Tips: Store the bars in an airtight container at room temperature for up to a week or in the fridge for longer freshness. You can also freeze them for up to three months.
To avoid common mistakes, ensure that your butter is softened but not melted when making the peanut butter layer. This helps achieve the right consistency without making the mixture too runny.
Nutritional Values and Benefits
Understanding the nutritional content of your desserts can help you make informed choices. Here’s a breakdown of the approximate nutritional values for one serving (based on cutting the bars into 16 pieces):
- Calories: 200
- Protein: 4g
- Fat: 12g
- Carbohydrates: 21g
- Sugar: 12g
These bars are a source of protein thanks to the peanut butter and provide a satisfying treat when you’re craving something sweet. Peanut butter is rich in healthy fats and can contribute to heart health when consumed in moderation.
Frequently Asked Questions
Frequently Asked Questions
Can I use crunchy peanut butter instead of creamy?
Yes, you can use crunchy peanut butter for added texture. However, be aware that it may change the consistency of the bars slightly.
How should I store the White Chocolate Marbled Buckeye Bars?
Store the bars in an airtight container at room temperature for up to a week or refrigerate them for longer freshness. You can also freeze them for up to three months.
Can I substitute the chocolate chips?
Absolutely! You can use dark chocolate chips or milk chocolate chips instead of semi-sweet and white chocolate chips for different flavor profiles.
Is this recipe suitable for vegans?
Yes, by using a plant-based butter and dairy-free chocolate chips, you can easily make this recipe vegan-friendly.
What can I serve with these bars?
These bars pair wonderfully with a glass of cold milk, coffee, or even ice cream for a decadent dessert experience.
Conclusion
In summary, the White Chocolate Marbled Buckeye Bars are an irresistible treat that combines the best of peanut butter and chocolate into one delightful dessert. With their simple preparation and customizable options, you’ll find this recipe to be a wonderful addition to your baking collection. We invite you to try making these bars and share your experience with us in the comments below. For more delicious recipes, check out The Joy of Christmas Fudge or Cranberry Jalapeño Dip for treats you will love!
Happy baking!
White Chocolate Marbled Buckeye Bars
Ingredients
Equipment
Method
- Step 1: Preheat your oven to 350°F (175°C).
- Step 2: Line your 8x8-inch baking pan with parchment paper, allowing some overhang on the sides.
- Step 3: In a mixing bowl, combine the creamy peanut butter, powdered sugar, softened butter, and vanilla extract. Mix until smooth.
- Step 4: Spread the peanut butter mixture evenly into the prepared baking pan.
- Step 5: In a microwave-safe bowl, combine the semi-sweet chocolate chips with 1 tablespoon of vegetable oil. Microwave in 30-second intervals, stirring after each, until melted.
- Step 6: Repeat the melting process for the white chocolate chips with the remaining tablespoon of vegetable oil.
- Step 7: Drizzle the semi-sweet chocolate over the peanut butter layer, followed by the white chocolate.
- Step 8: Using a knife or toothpick, swirl the two chocolate layers together to create a marbled effect.
- Step 9: Bake the bars in the preheated oven for 20-25 minutes.
- Step 10: Allow to cool completely on a wire rack, then lift out and cut into squares.
Notes